Cloudpanel Site Migration

RootaliYönetici
2025-12-20 16:01:24 574 views
Best Practices - PHP Site Migration
You will find best practices on this site on how to migrate a PHP Site to CloudPanel.In our example, we will migrate our site www.domain.com to CloudPanel.Before going live, we need to ensure that our site is running as well as expected before doing the live switch.
Create a PHP Site
Live Domain
Create your site with the live domain so that the redirection from non-www to www and vice versa is correctly generated.
- Create a PHP Site via CloudPanel or via CLI with your domain www.domain.com.
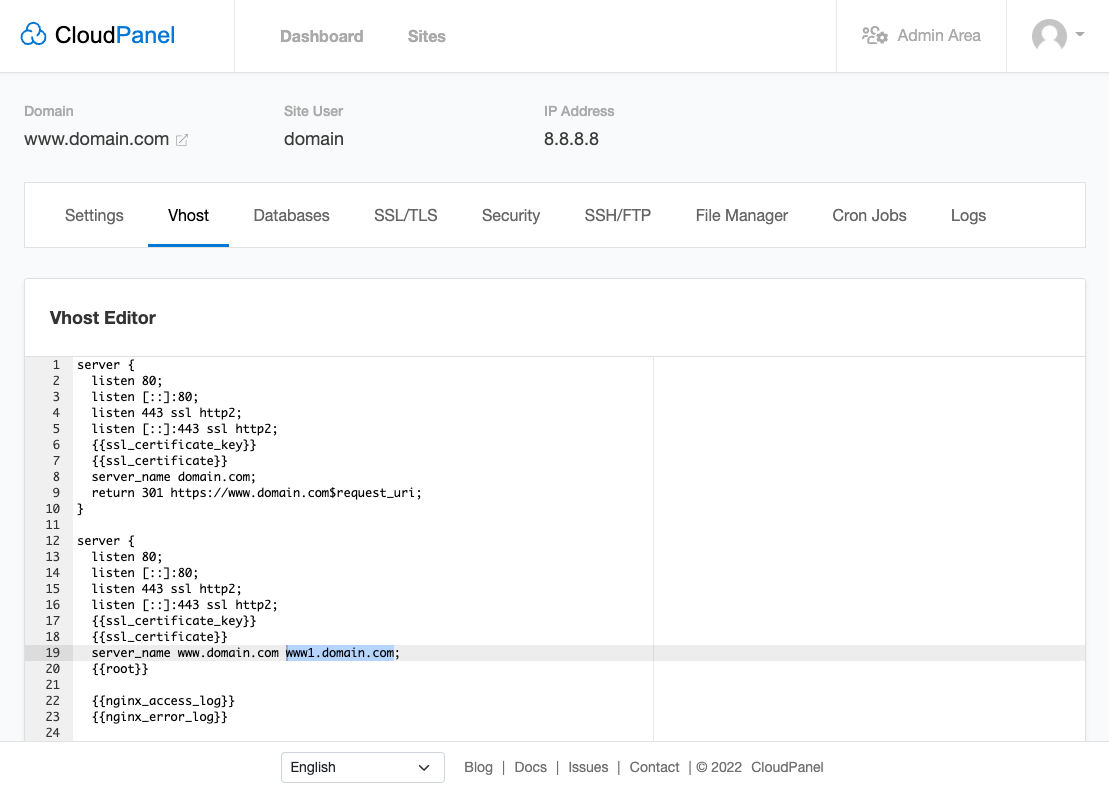
In the Vhost of your site, you see that the subdomain www1.domain.com has been added by CloudPanel, which will be used as our pre-live domain for testing purposes.
- Create a DNS Record (A) for the subdomain www1.domain.com.
- Enable Basic Authentication to prevent being indexed by search engines.
Site Migration
- Copy your sites files from the old server to CloudPanel.
- Export the database by using mysqldump:
mysqldump -h127.0.0.1 -u$userName -p --opt --single-transaction --quick $databaseName > dump.sql
- Upload the database dump dump.sql to CloudPanel.
- Login via SSH with the site user and import it via CloudPanel Cli.
clpctl db:import --databaseName=my-database --file=dump.sql
- Configure your site to run under the subdomain https://www1.domain.com.
Testing
Take some time for testing to ensure that your site is running as expected on CloudPanel.
Live Switch
- Put a maintenance site on the old server to prevent visitors from accessing the site.
- Export files like a media directory, which may have been changed in the meantime.
- Export the database by using mysqldump:
mysqldump -h127.0.0.1 -u$userName -p --opt --single-transaction --quick $databaseName > dump.sql
- Upload the database dump dump.sql to CloudPanel.
- Login via SSH with the site user and import it via CloudPanel Cli.
- Add a host file entry for the final testing before switching the DNS Records.
- Windows
- Linux/Mac
- Open your text editor in Administrator mode.
- In the text editor, open C😕Windows\System32\drivers\etc\hosts.
- Add the IP Address and domains.
8.8.8.8 www.domain.com domain.com
- Save the changes.
- Open your browser and do a final testing of https://www.domain.com.
- Change the DNS records for domain.com and www.domain.com to the server ip.
- Disable Basic Authentication.
- Remove the host file entry from step 6.
Yazdığımız şeyler bizi temsil eder, Efendilik iyidir.